


On the Biketour in 2015, one very noticeable change compared to the Biketours before was that suddenly many people came with a smartphone. In the years before there had been maybe one or two people among a group of up to 50 who had a GPS or smartphone with them, but now there were even some days where no one followed the route of the scouts, because in every small group of cyclists, there was at least one who was using GPS navigation on their phone. One side-effect was that people needed to charge their phones all the time, and whenever we arrived in a project, immediately all the sockets were filled, and when we were travelling without a host for several days, people went to cafés during the day to charge their phones there. It is not only a bit rude to our hosts to use their electricity and block all their sockets, but it also contradicts our values of trying to be a sustainable and anti-consumerist biketour.
The most honest and sustainable solution would of course be to go back to navigating with paper maps, to not bring any electronic devices that have all been produced in inhumane and exploitative conditions. But this is not our decision to make as the people who are preparing the tour, and people already have smartphones, so they might as well bring and use them. So some of us have decided to focus a bit on bringing solutions to charge phones in a sustainable way to the next tour.
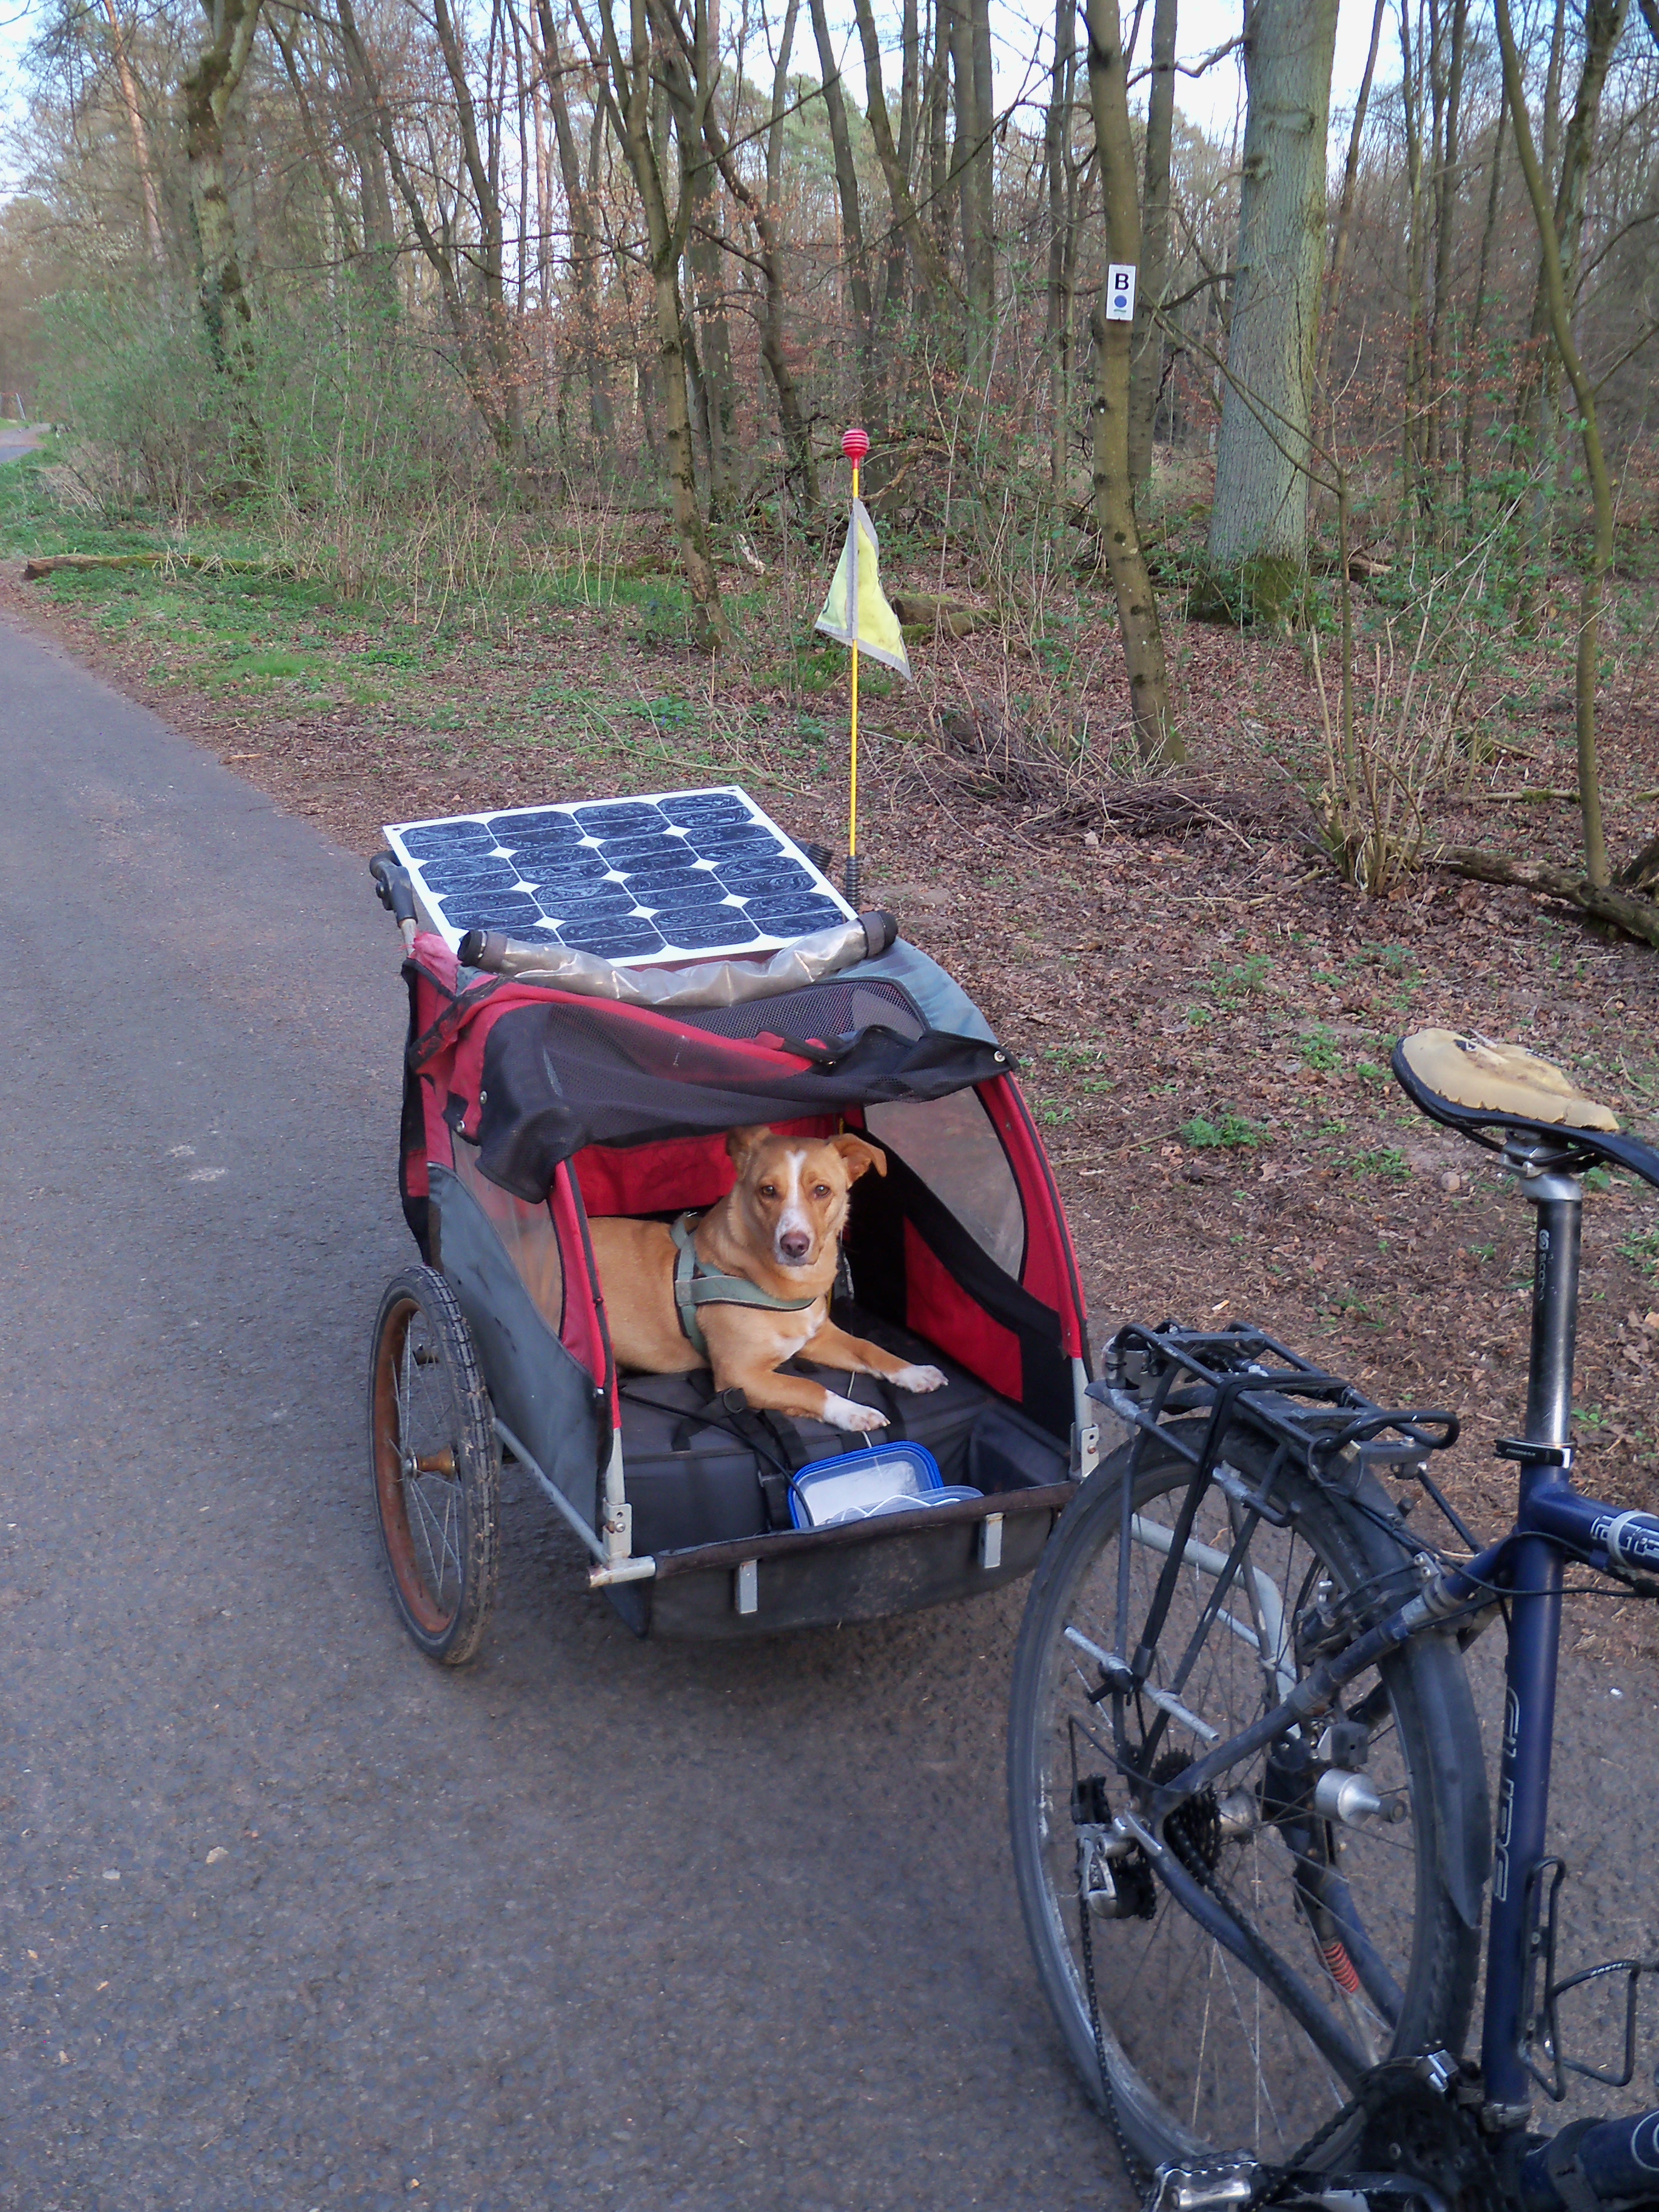
One thing is that on one of the trailers, there will be a solar panel, with which different kinds of devices (even laptops with the right adapter) can be charged on a sunny day, while cycling or while resting.
-

- The dog + solar trailer
-
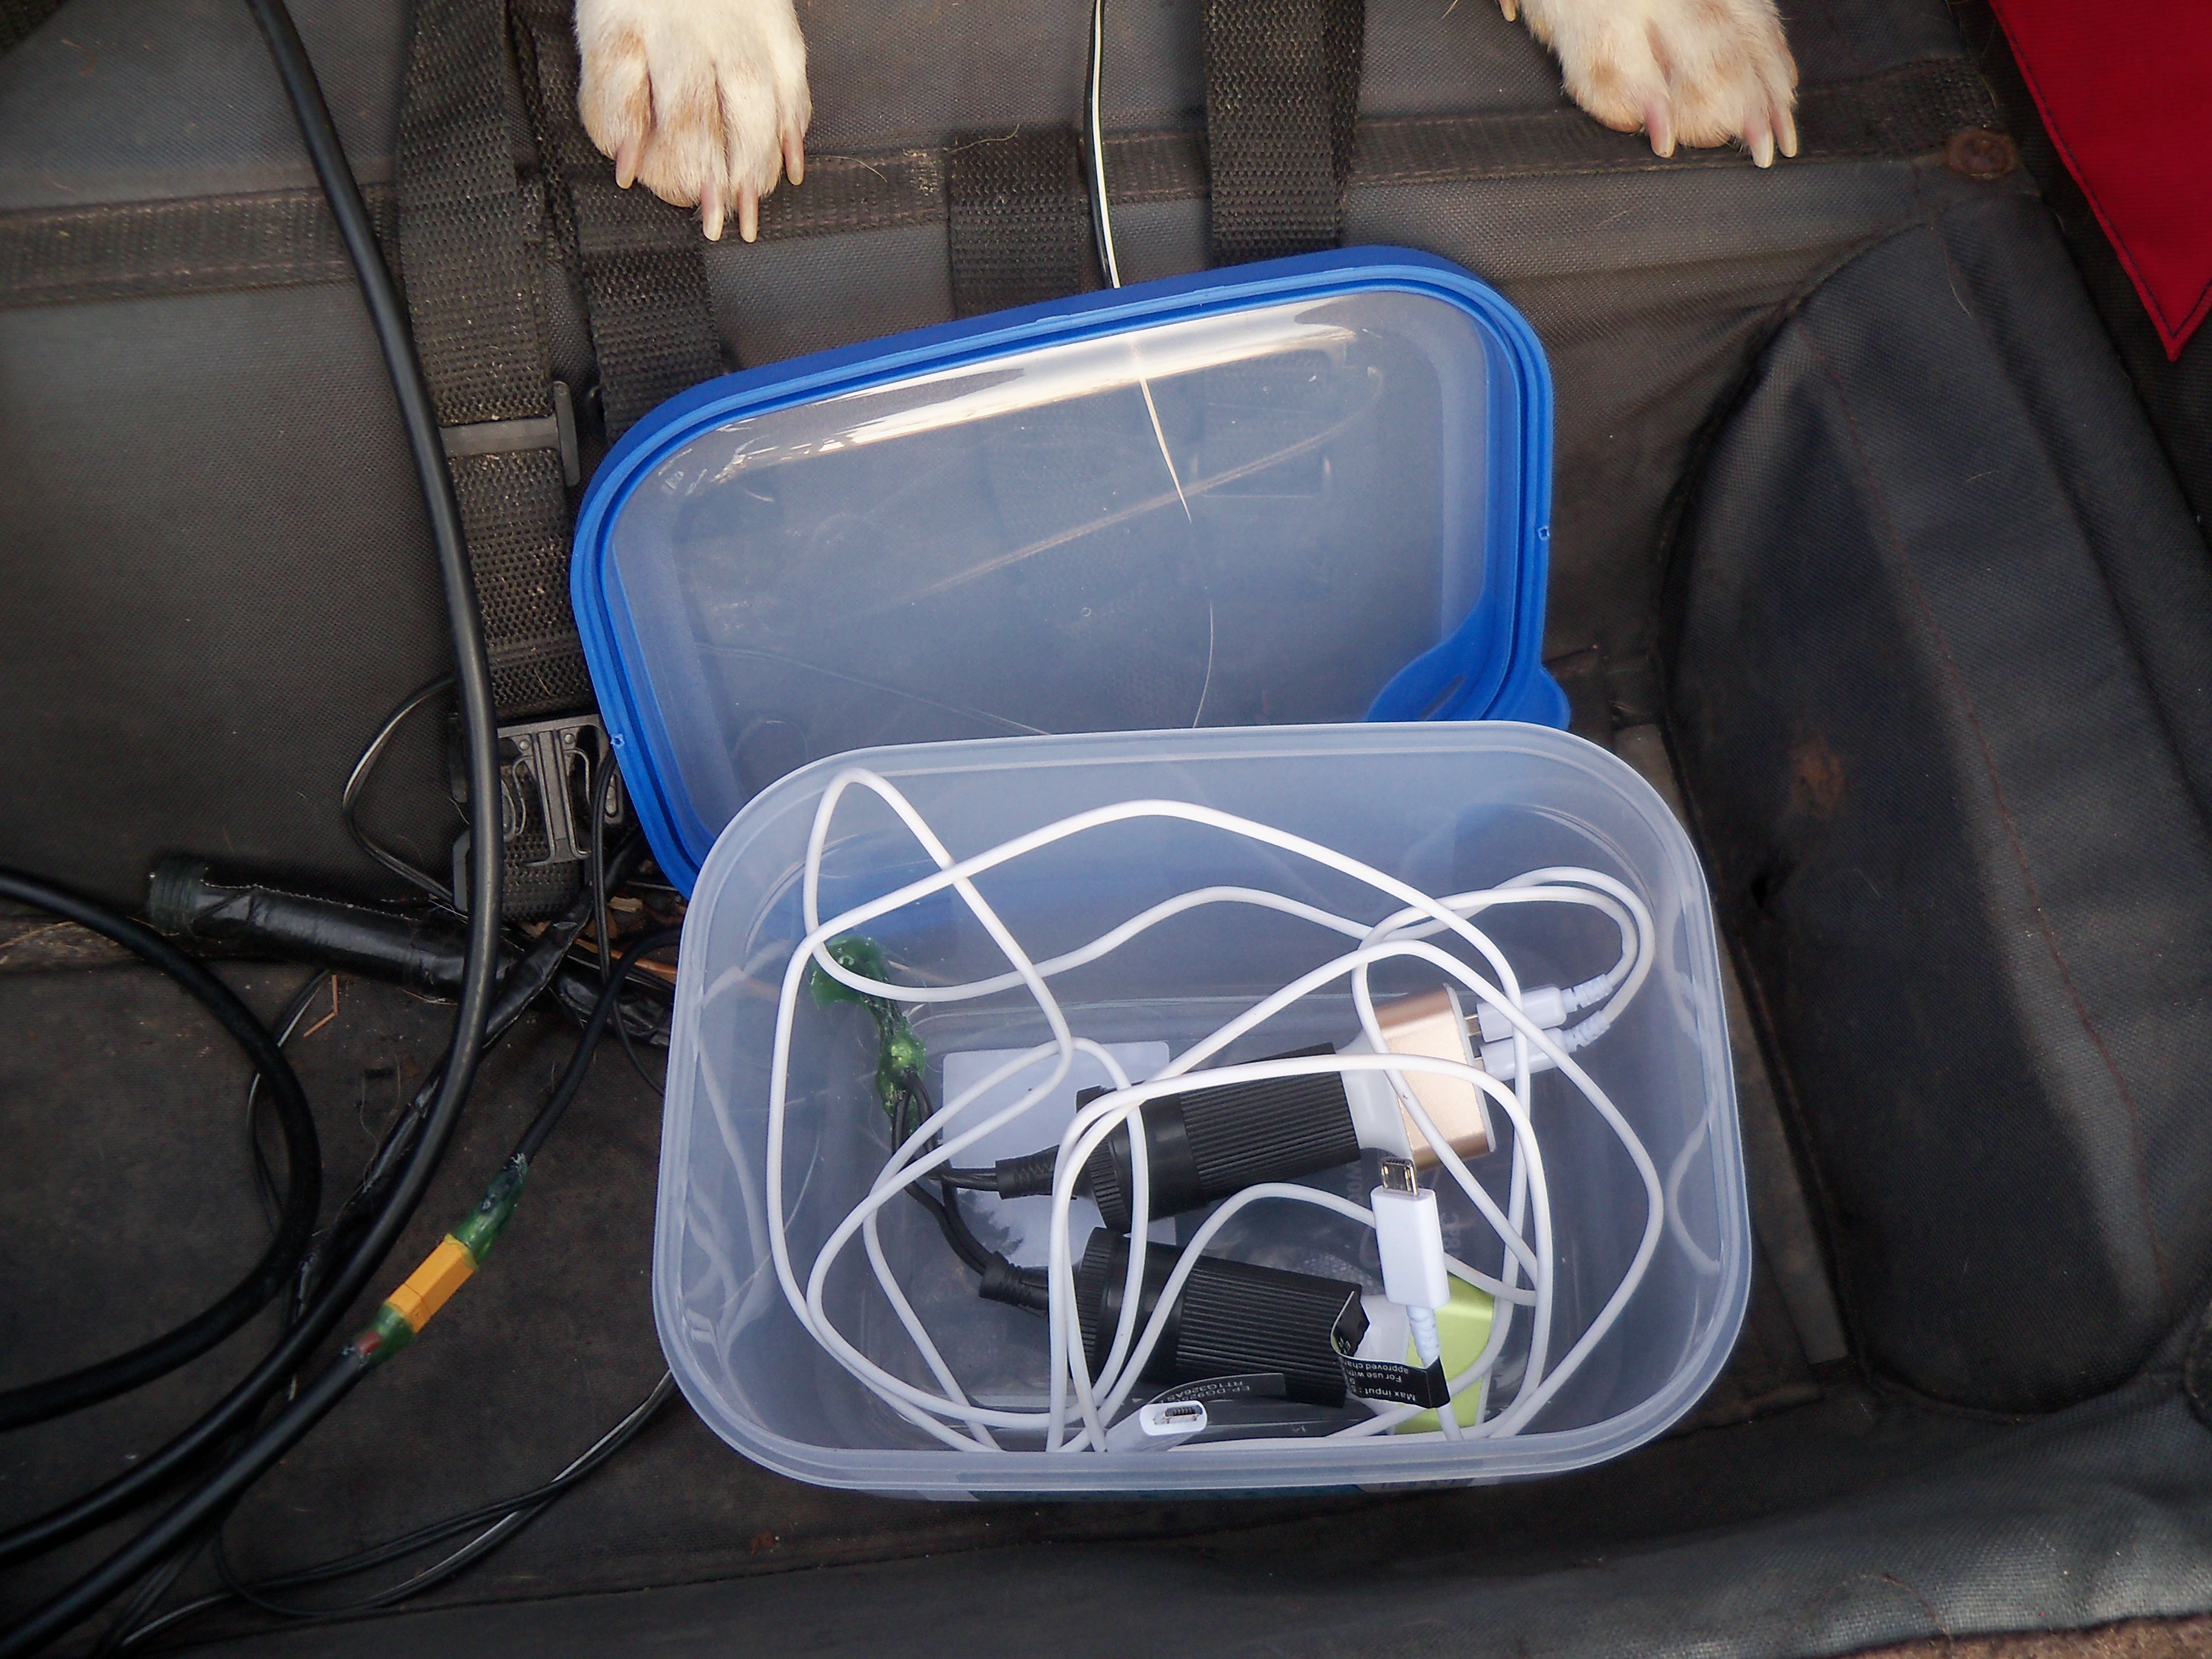
- In the charging tupper ware, up to 6 phones can be charged at the same time, protected from rain and guarded by a dog.
The other thing is that we are preparing a workshop to build dynamo-powered USB ports. We want to find out what is the best way to do it, get the parts that are needed to build several of them, and then build them in the beginning of the Biketour together with everyone who wants to have one. Because there are different manuals how to build a device like this (for example this and this), we will get the parts to build all of them after the Spring Meeting and try them all out and compare them.
A dynamo-powered USB port needs consists of several parts, connected in a row:
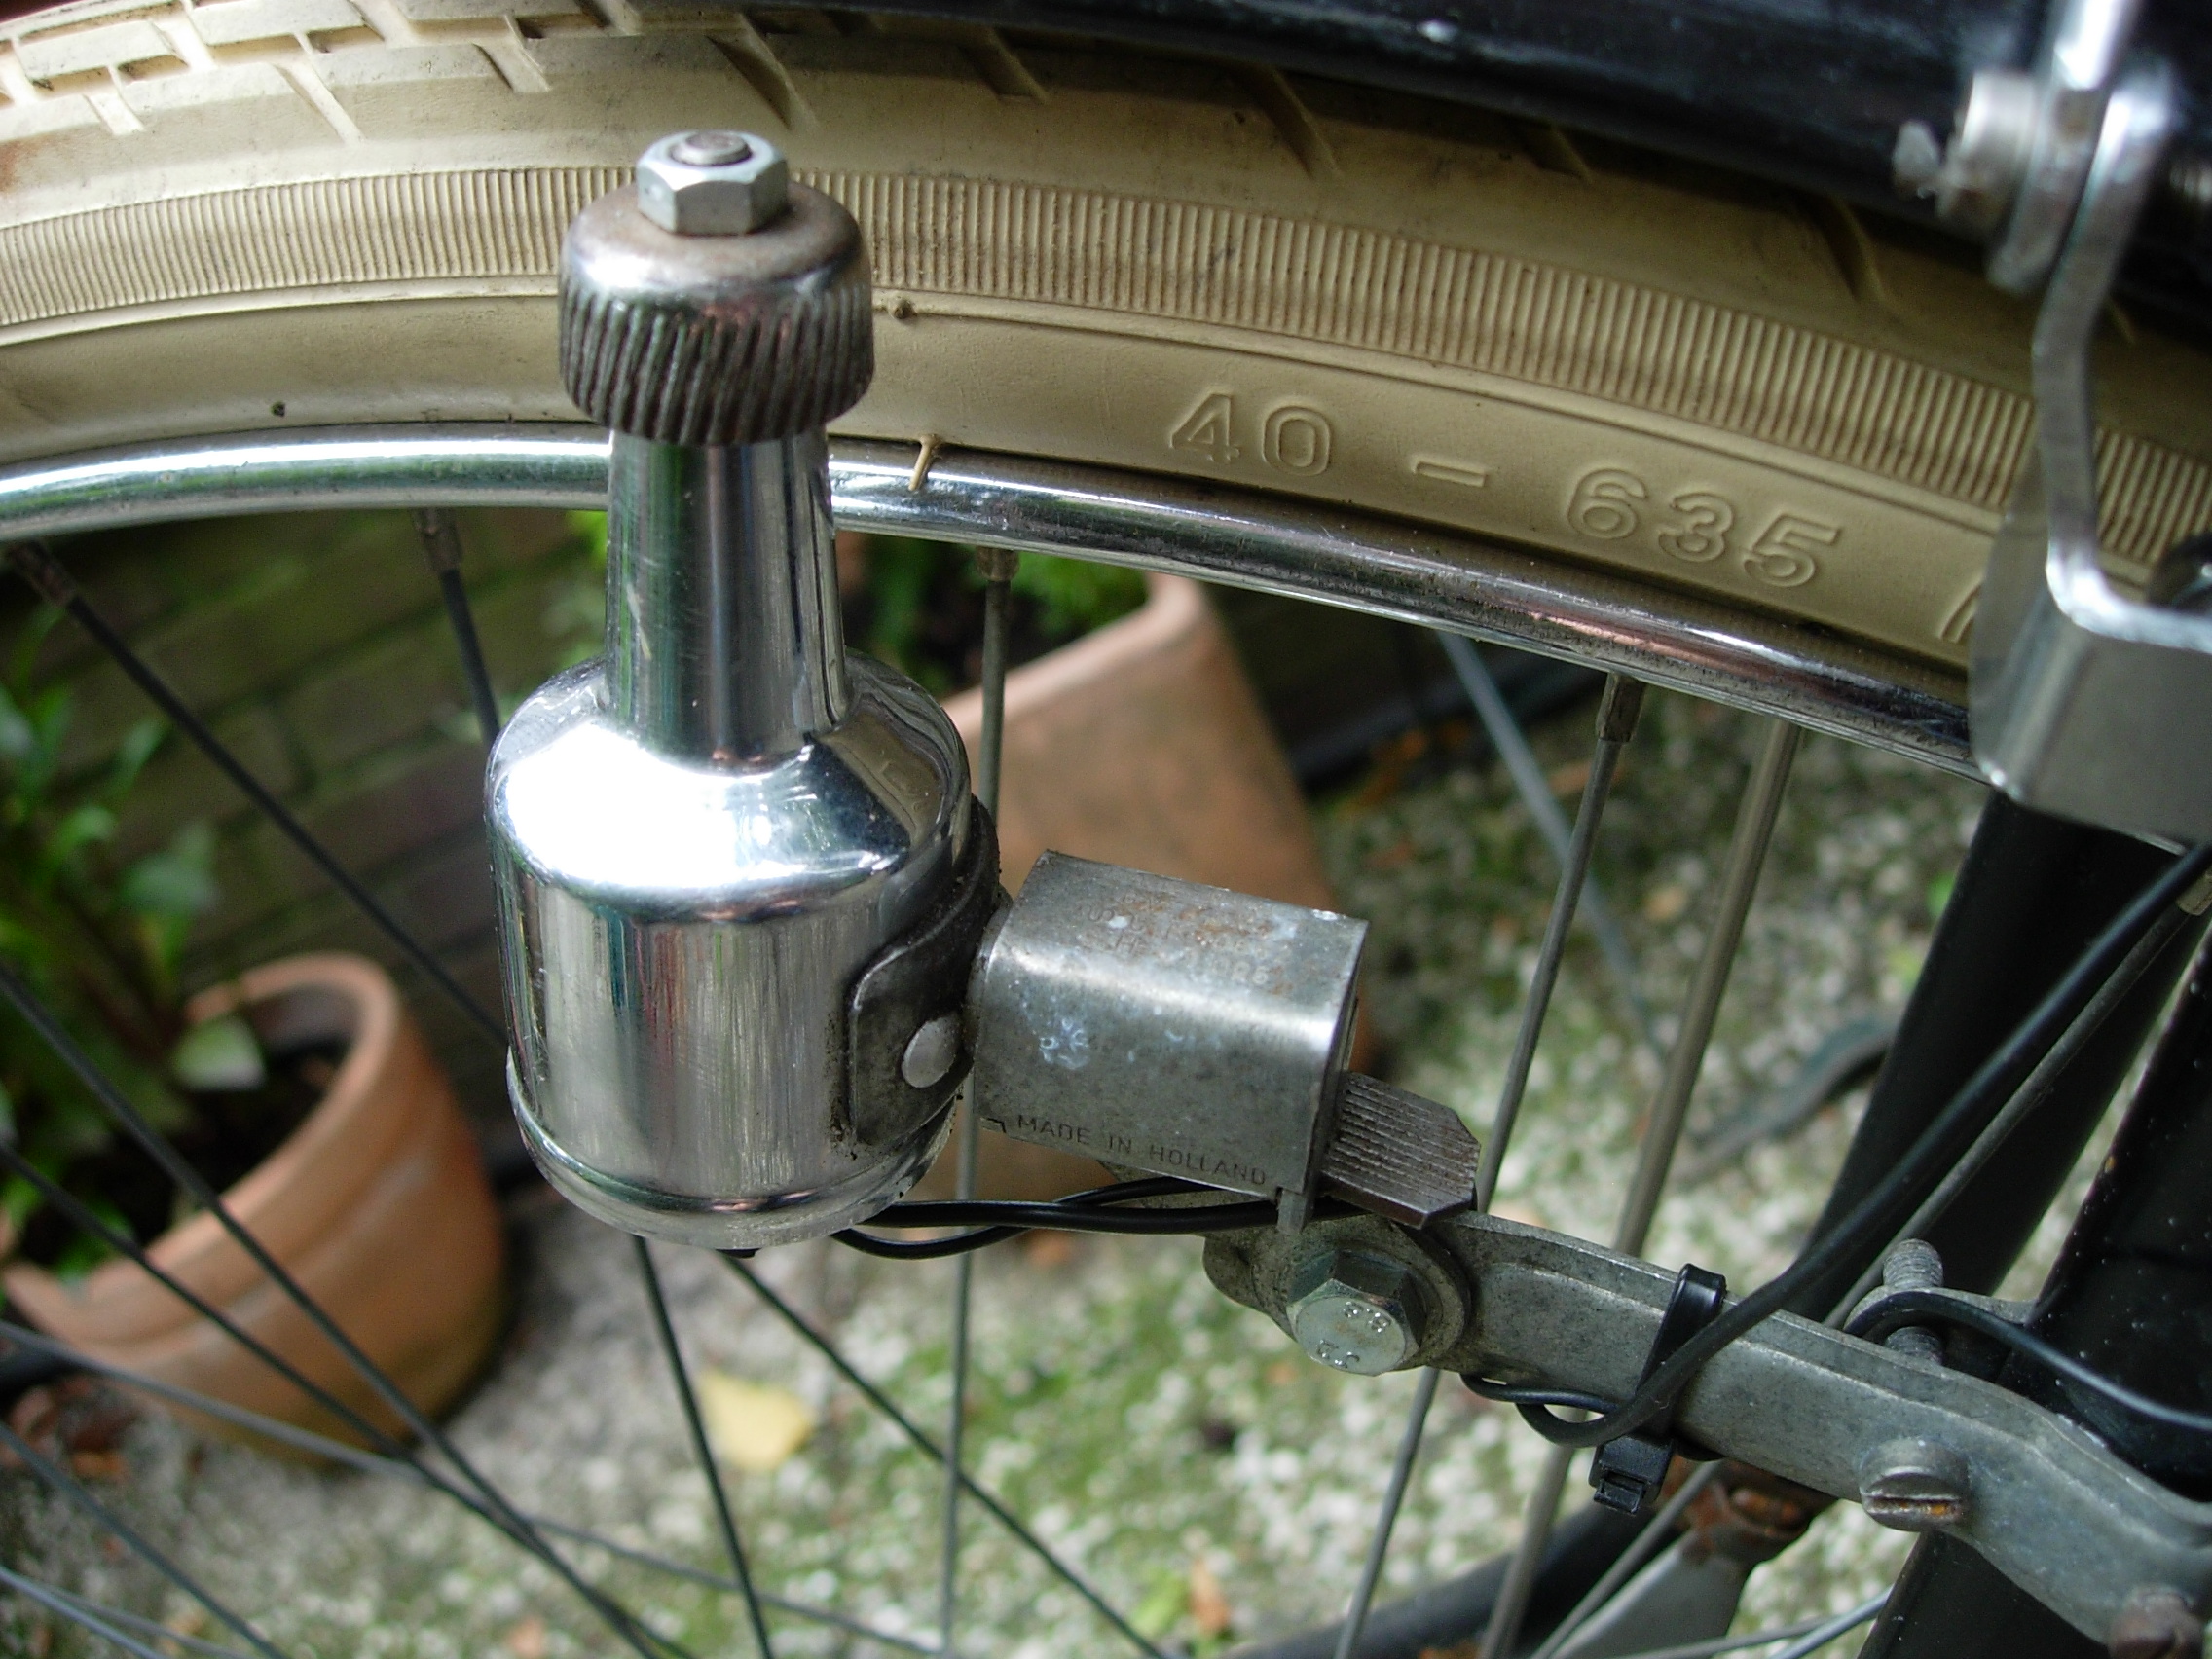
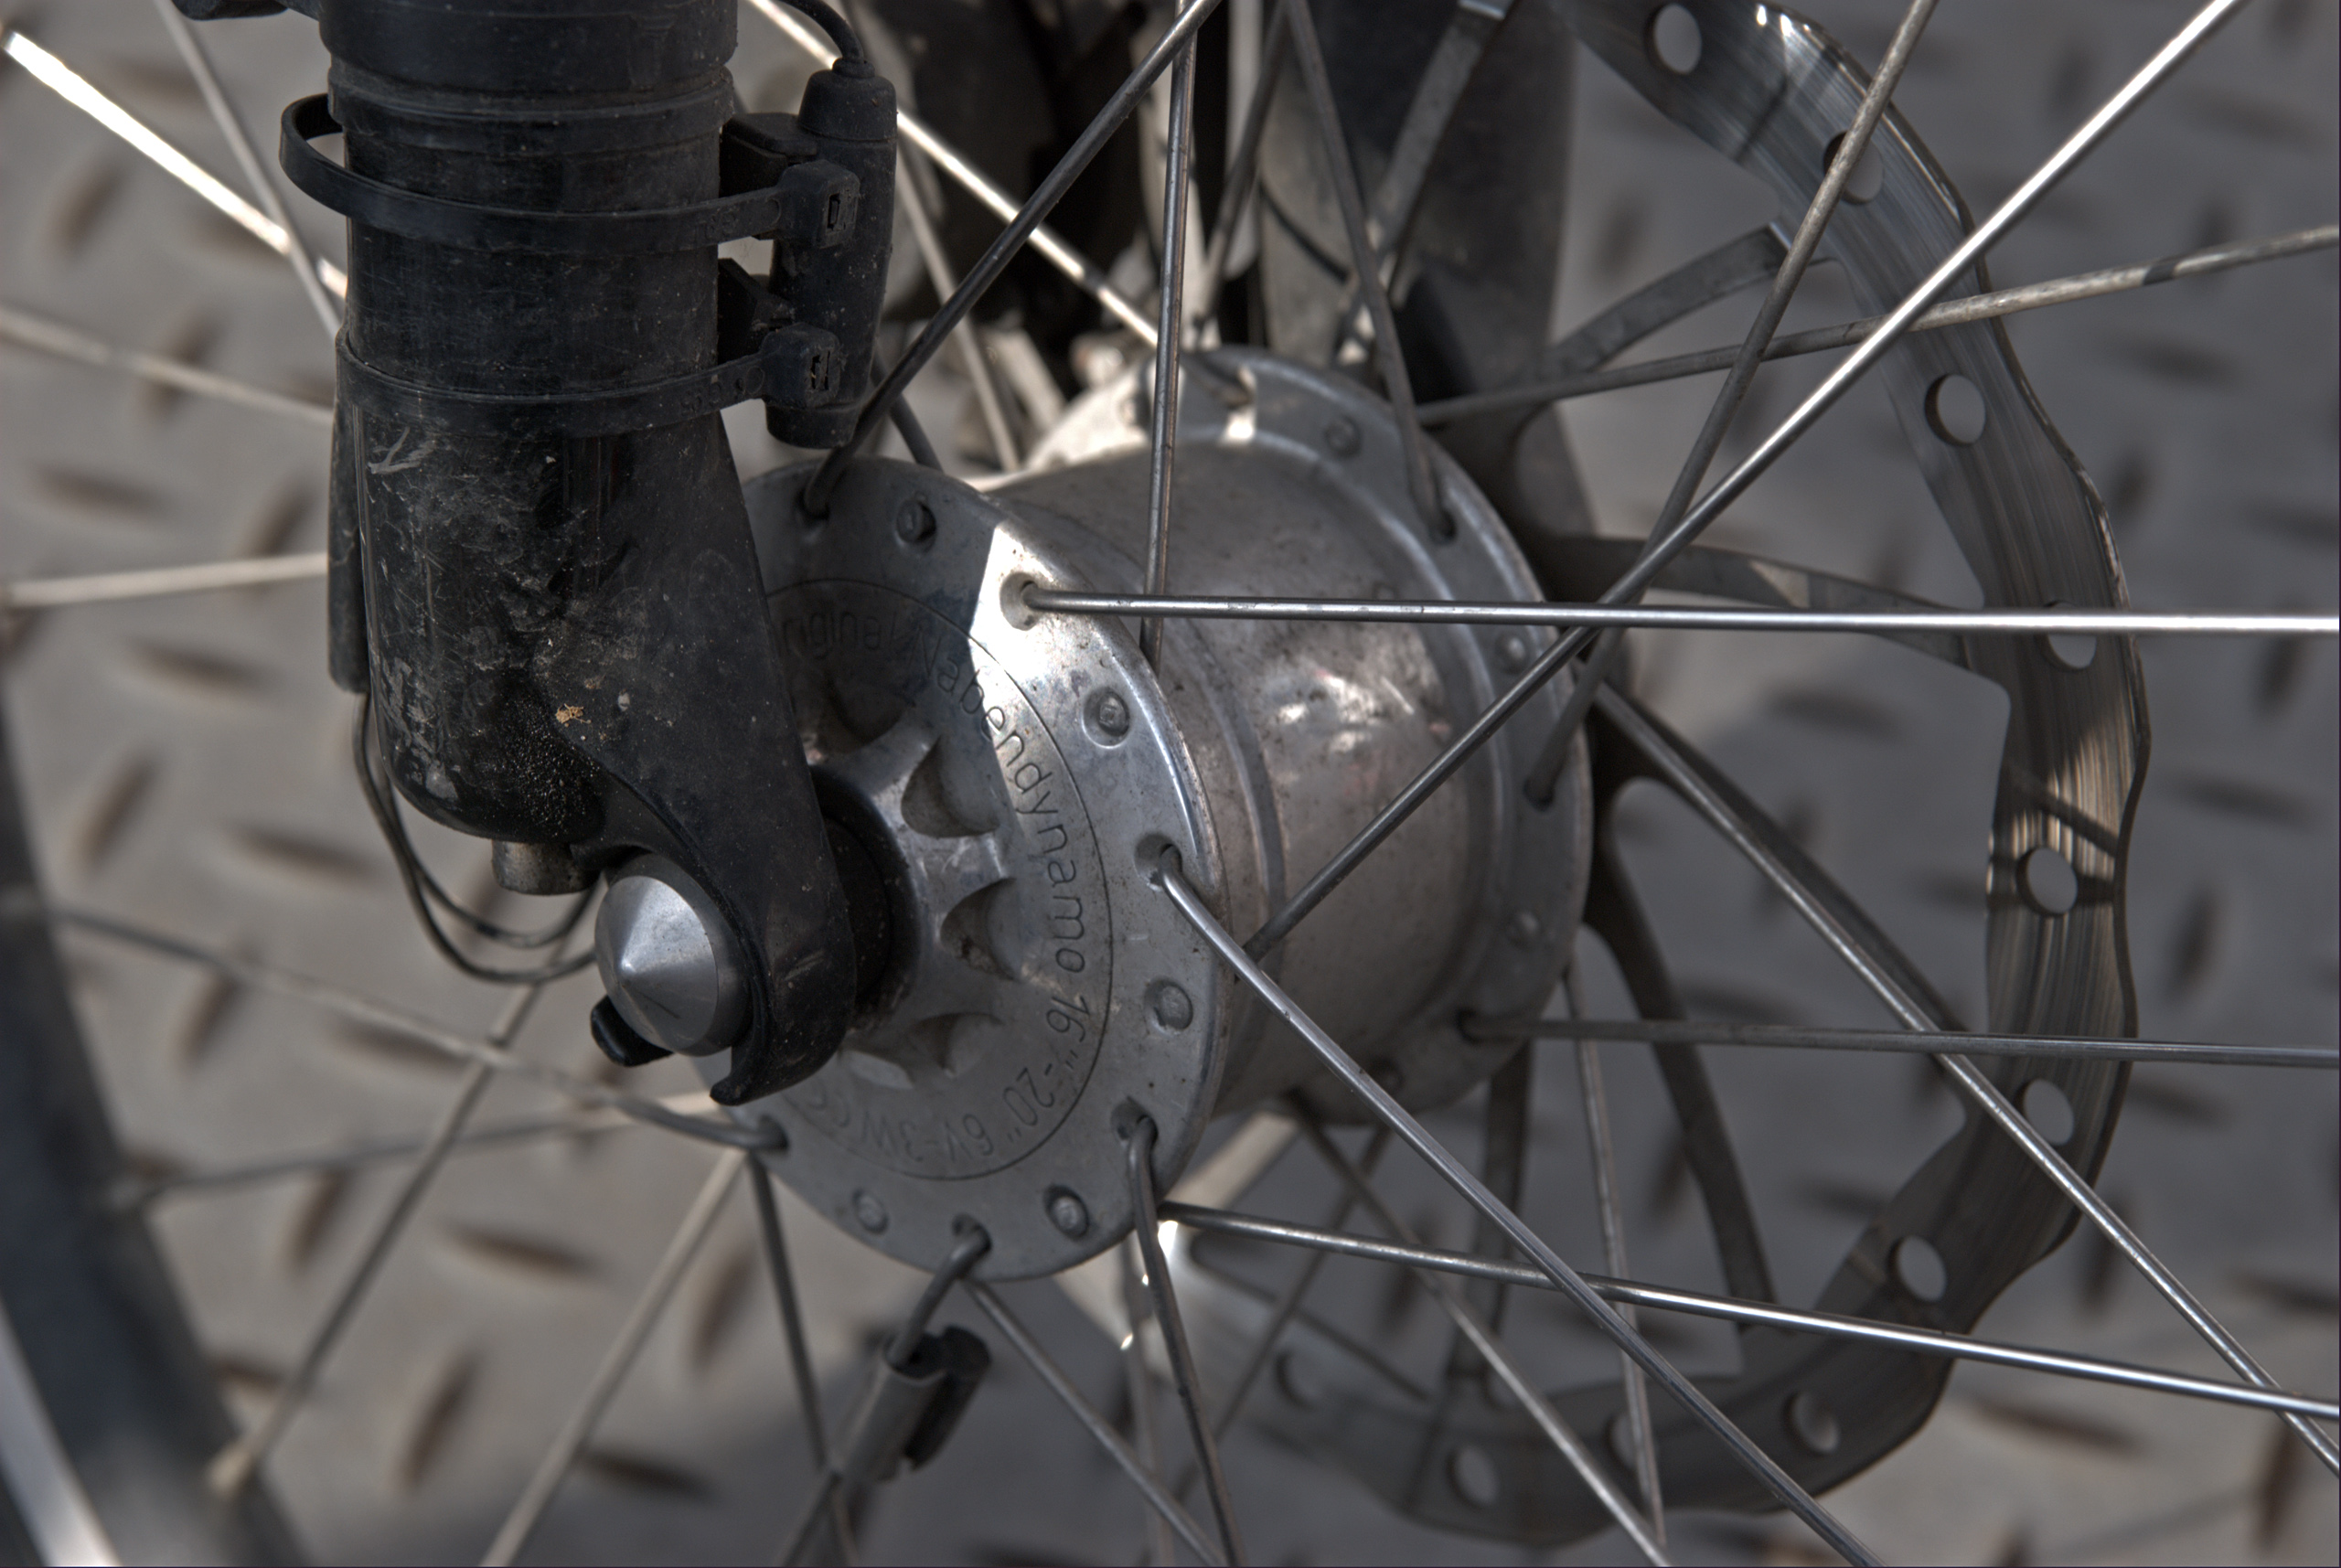
- The dynamo, a device that creates electricity from the movement of the bike. There are two common types of dynamos: bottle dynamos and hub dynamos. Bottle dynamos are cheaper and easier to install than hub dynamos, but they are loud, don’t work in all weather conditions, and slow you down much more. Both types of dynamos produce the same type of electricity, only the frequency is different (because bottle dynamos rotate much faster), which can be relevant for the voltage converter. As in our workshop, we want to be able to build the device easily (without having to replace all the spokes), we will probably bring some bottle dynamos for those who don’t have a dynamo yet on their bikes.
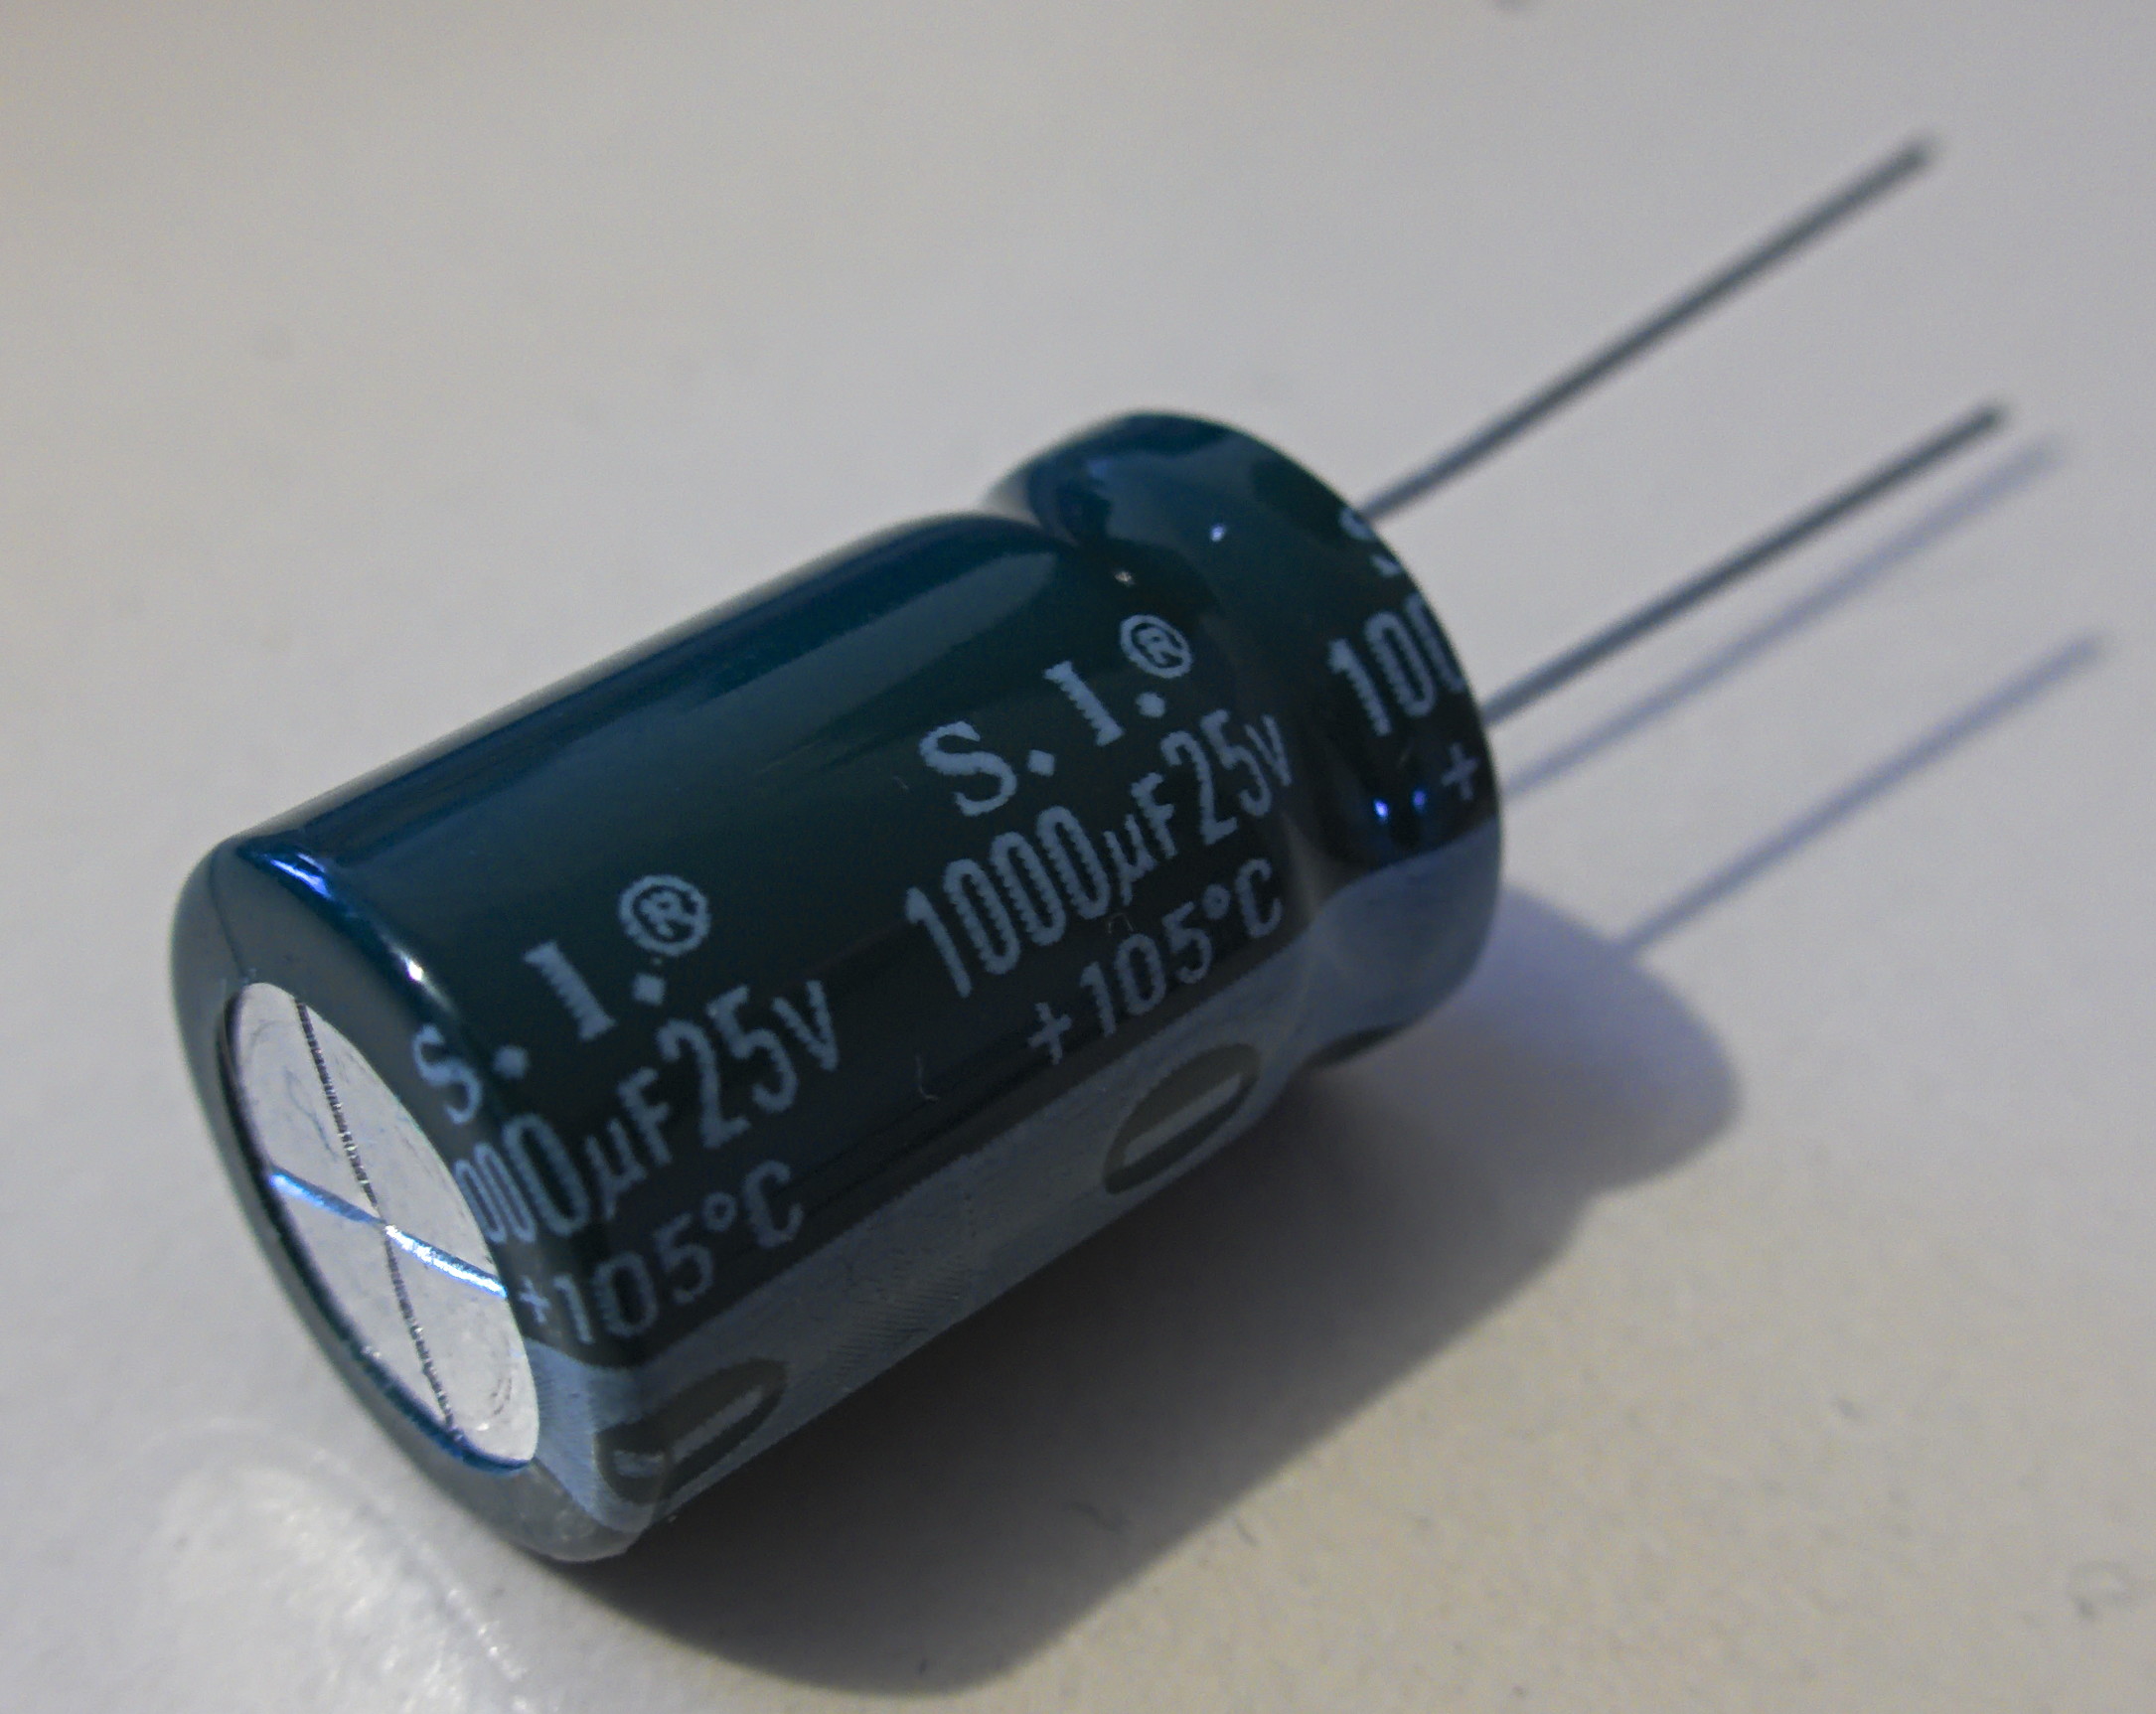
- A capacitor to increase the power of the dynamo. This idea is mentioned in some manuals. The capacitor creates a resonant circuit with the coil in the dynamo, and thus can increase the power of the dynamo (from 3 Watts to 4–5 Watts). I don’t think there are many people in the world who understand the physical theory behind this, but we will just try this out and see if we can measure any differences. Because of the different rotating speeds of the different types of dynamos, different types of capacitors are needed for them. We will try to go for two 470 µF, 63 V capacitors for the bottle dynamo and two 3300 µF, 35 V capacitors for the hub dynamo (as in Circuit 6), and additionally try two 680 µF capacitors (as proposed in the Minimallader). Because this capacitor is connected right to the dynamo, it needs to resist quite a high voltage – the voltage of dynamos can go up to 50 V when no device is connected.
Electrolyte capacitor
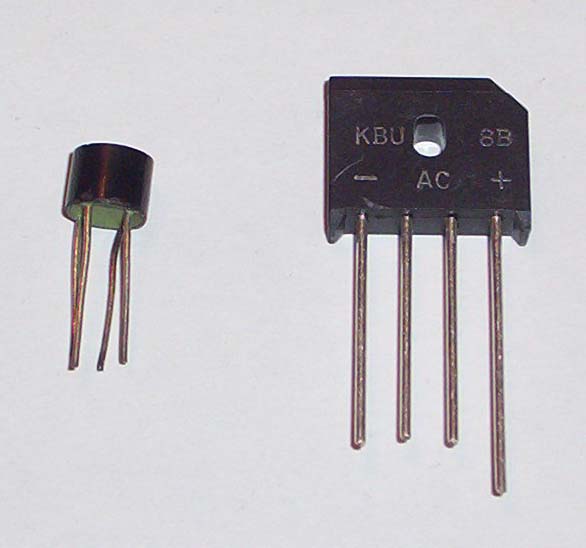
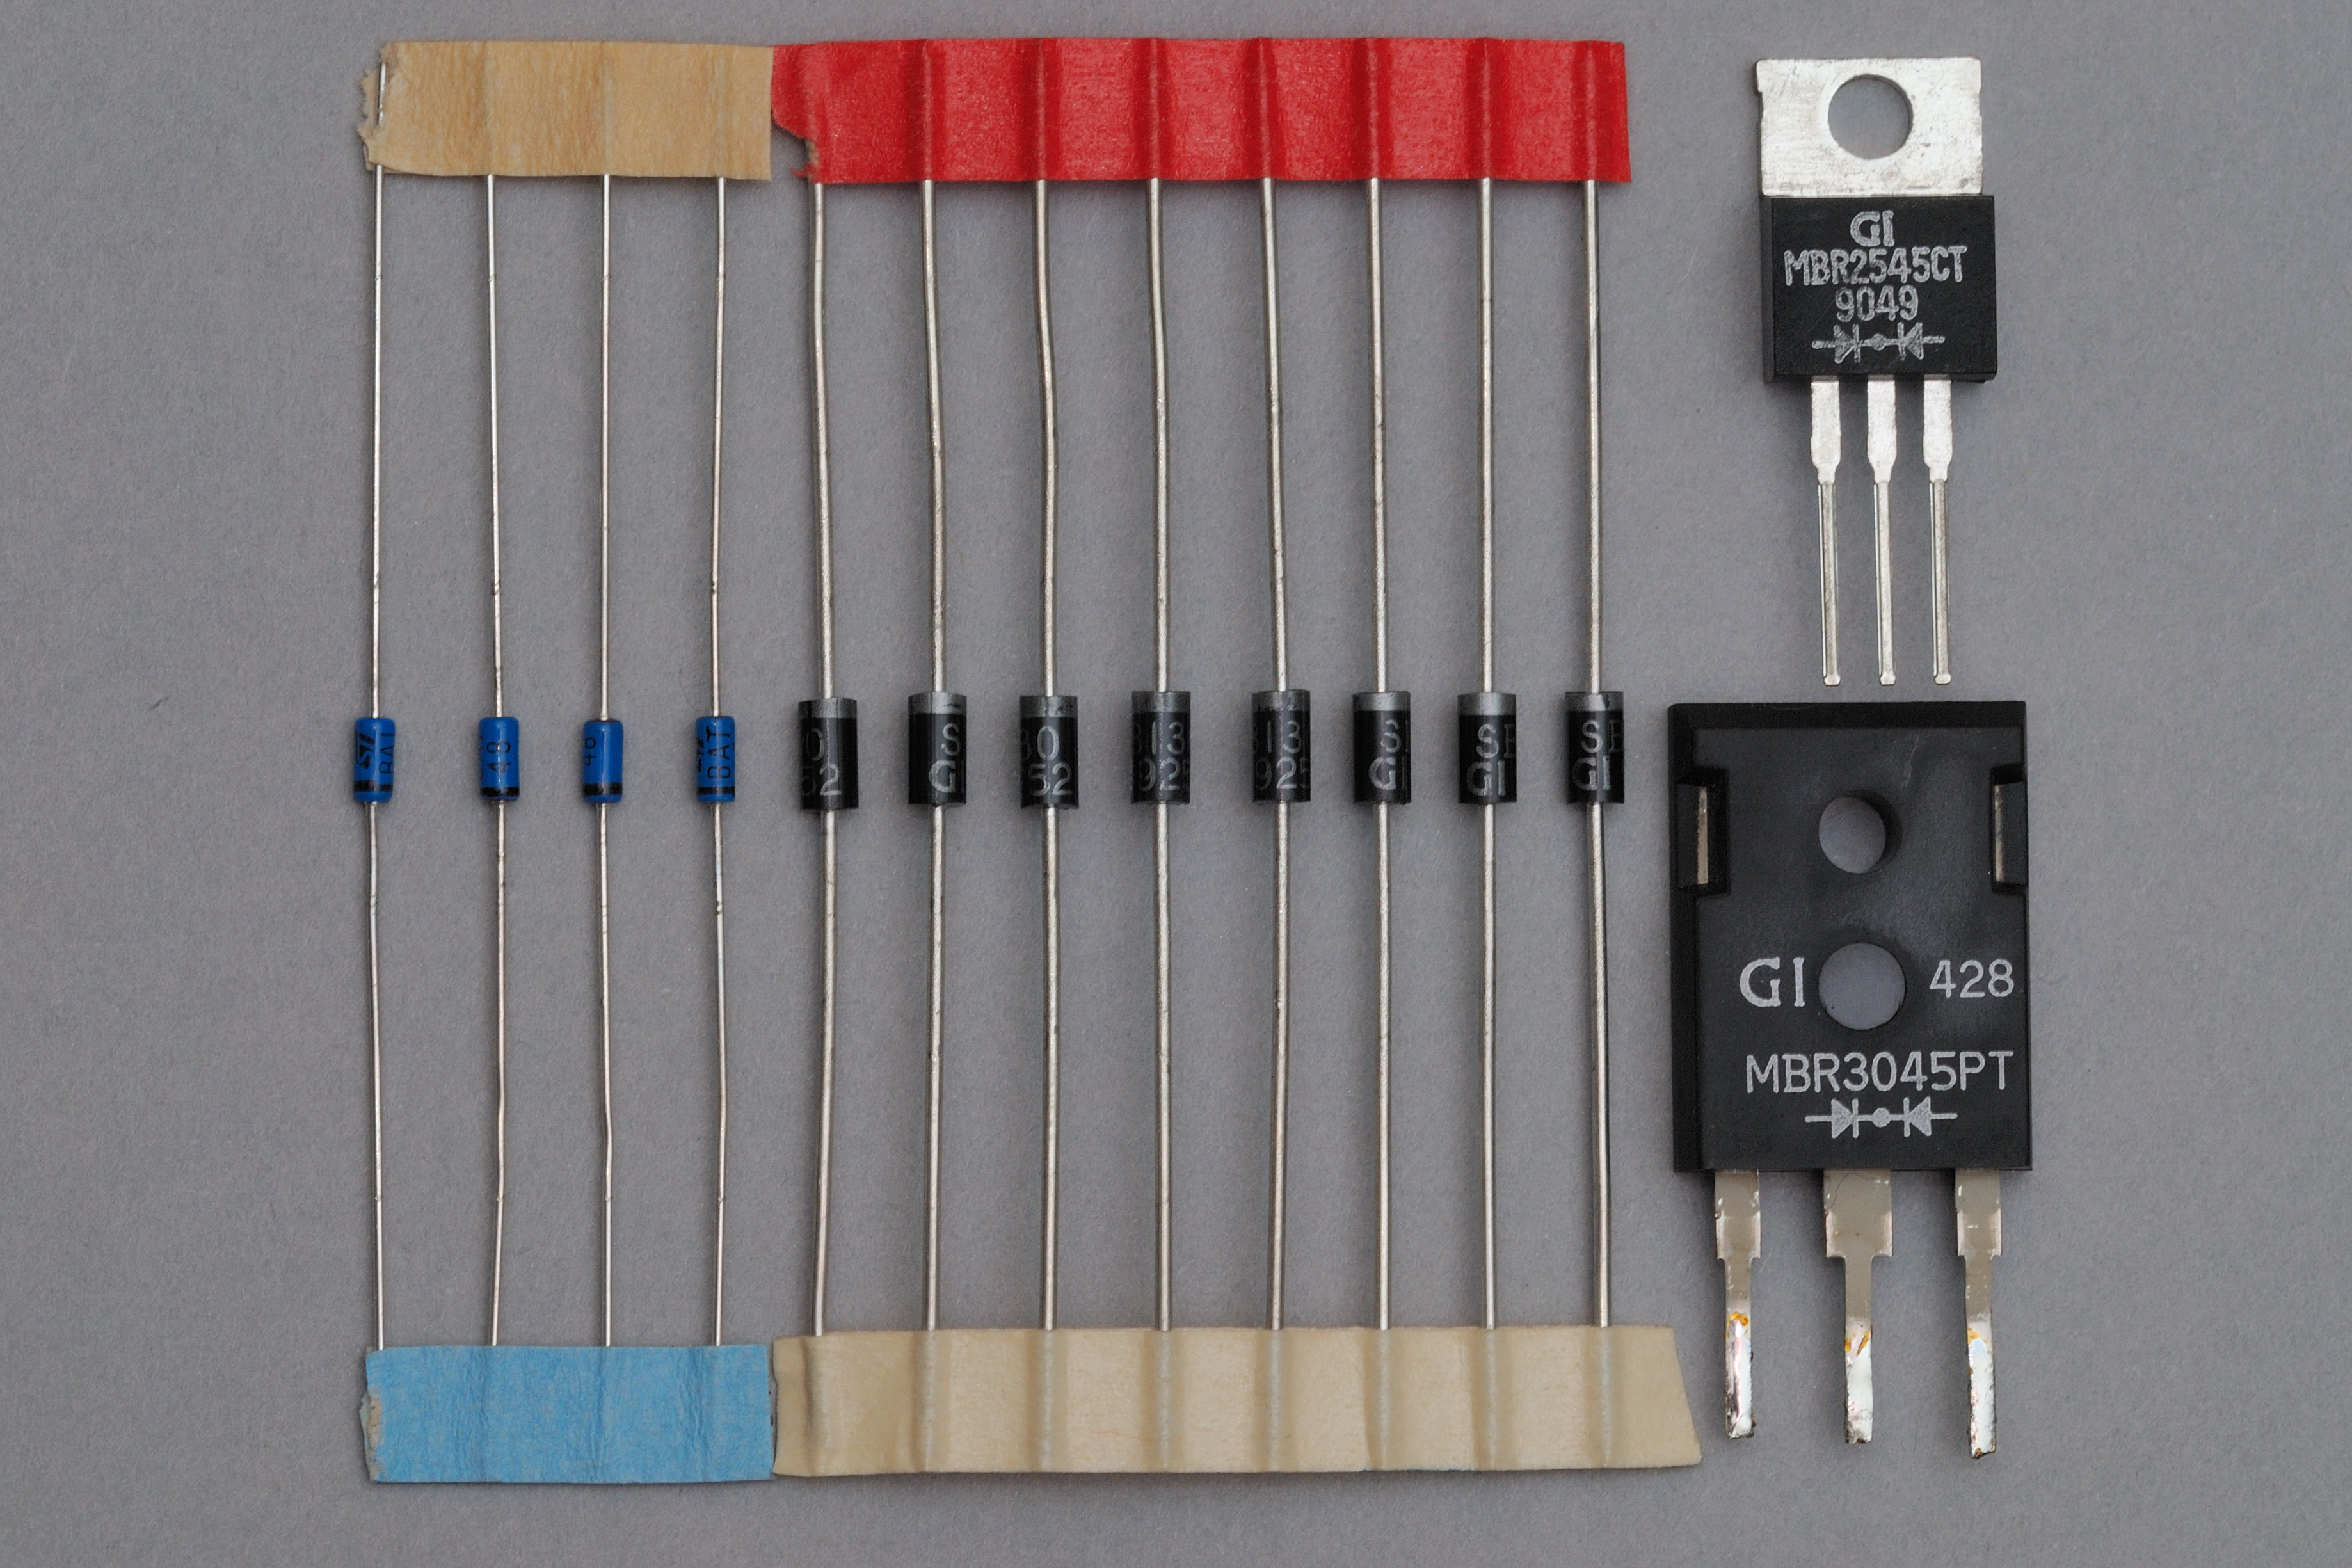
- A rectifier. Dynamos produce AC current (+ and — switch several times per second), whereas USB devices need DC voltage (+ and — always stay the same). Rectifiers can be bought as one piece, but those are usually make of silicon, which has quite high losses compared to for example Schottky diodes. We will try once with a cheap silicon rectifier, and once with a rectifier built from Schottky diodes, to see if we can measure any difference.
Different types of rectifiers
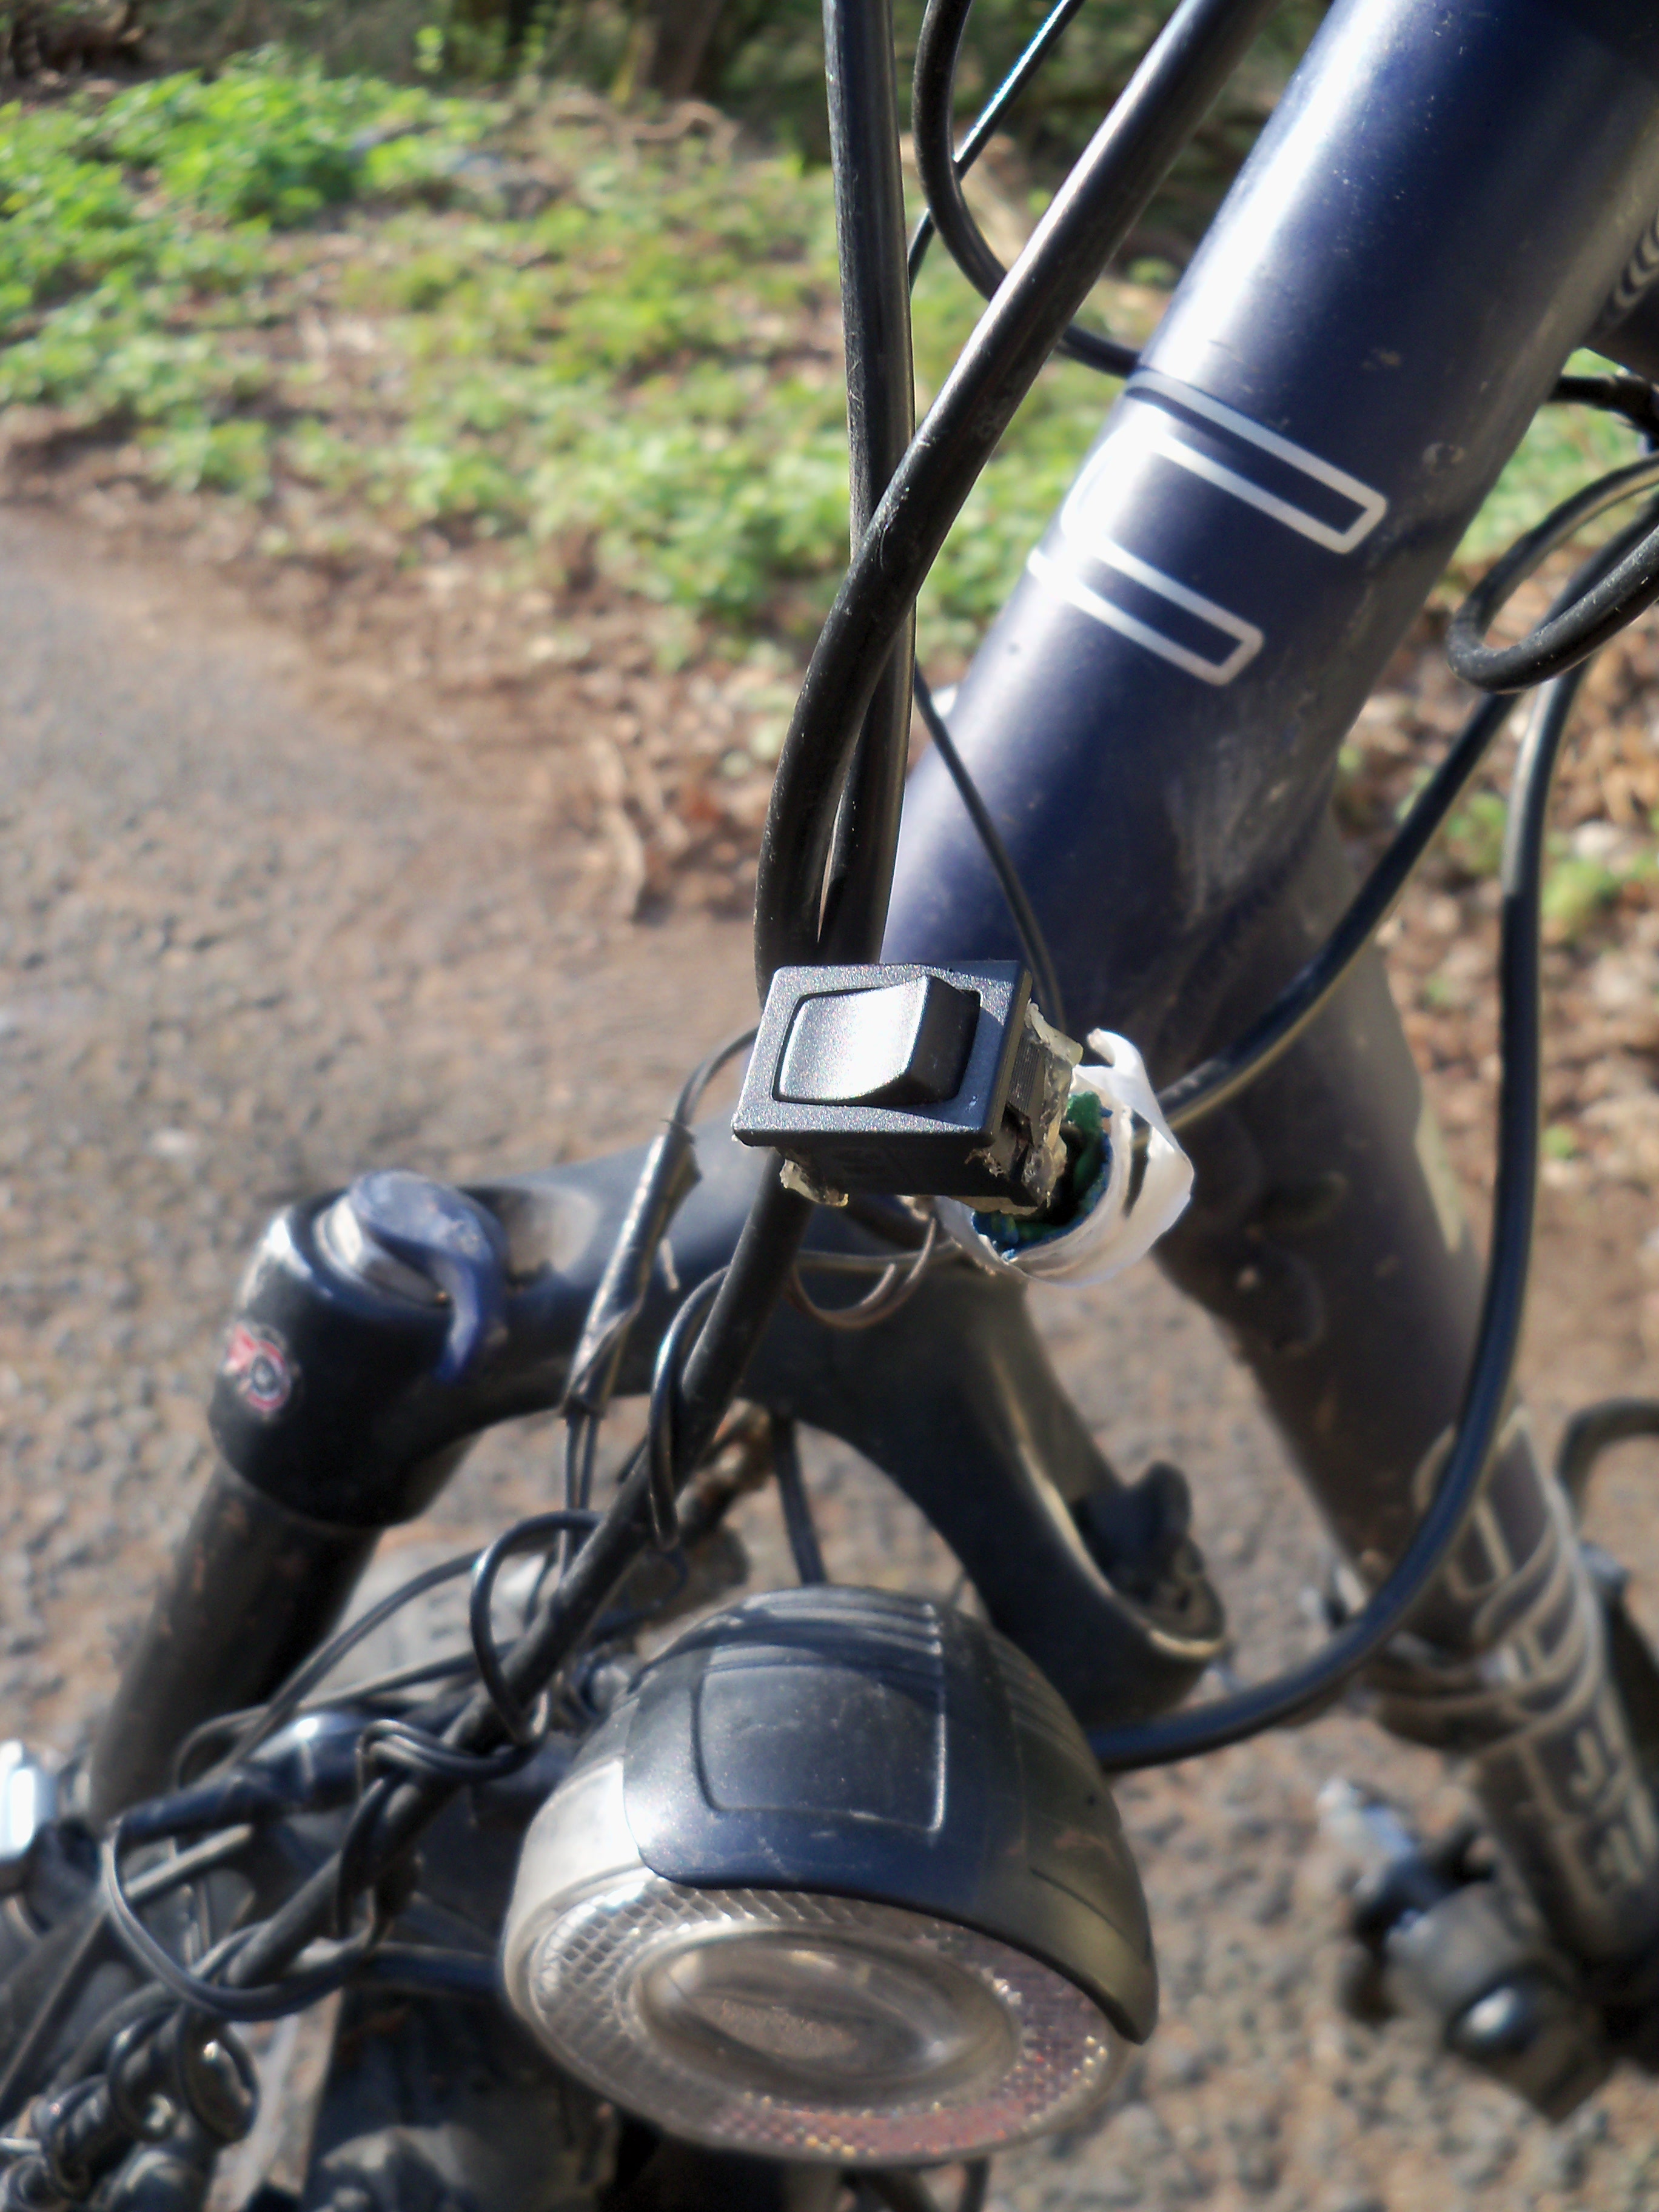
- (A switch, if you also want to operate a light and switch between the USB port and the light. If you have a commercial light that directly connects to the dynamo, this has to go directly after the dynamo, but if you have DIY one, it should go here.)
Switch between the light and the USB port
- A voltage converter. Dynamos produce a variable voltage, whereas USB devices need a constant voltage of 5 Volt. There are different devices to use for this:
- A linear voltage converter is a variable resistor that changes depending on the input voltage, to keep a constant output voltage. The disadvantages are that they only work when the input voltage is at least 5.5 V (for low-dropout ones) or 7 V (for regular ones). We are not sure how this will affect the efficiency, as the voltage of the dynamo will go up when they turn off, so we will just try it out and see if the dropout voltage changes anything.
- A Zener diode makes a short-circuit when the voltage goes over 5 V, so it will just burn all excessive energy. The disadvantages are that it always slows you down by 3 Watts, even when you have nothing connected to it, and that they get hot, so you need to have some ventilation or heat sinks.
- A step-down converter / buck converter is a more efficient type of voltage converter, but it is also much more expensive. We are not sure if its efficiency will be useful in this device, because the inefficiencies of the other voltage converts are mostly about the way how they deal with excessive energy, but we don’t really need that excessive energy, so efficiency doesn’t matter so much.
-
- Different types of voltage regulators (GFDL 1.2 Christoph D / Wikipedia)
-
- Differnt types of Schottky diodes
-
- A step-down converter (CC-by-SA 3.0 Gormé)
-
- A stabilising capacitor. Because the dynamo produces AC current, so the voltage goes up and down several times per second, we need to stabilise it, as otherwise the device that we charge could get confused, or, if it is a light, flicker. We will try with a 2200 µF capacitor for bottle dynamos and 10000 µF for hub dynamos. This capacitor needs to only resist 5 V, as it is behind the voltage converter. It is important that it has a low internal resistance (low ESR), as otherwise the electricity might prefer to go to the charging device directly and never fill the capacitor.
- A USB socket.
Rain-protected USB port in between the fork
- A device to charge. This can be a power bank, a mobile phone, or something else. One difficulty here is that at slow speeds, less than 5 V might come out of the USB port. Some devices get confused by low voltages, and either completely stop charging or think they are charged more than they actually are. You just have to try it out. The best would be a powerbank with a maximum power point tracker (MPPT), so one that always uses as much energy as is available. We have found some when searching for “solar powerbanks”, but they were all really too expensive.


Another topic on its own is connectors. Often you need some connection that you need to be able to open, for example if you have a box with a powerbank and other electronic devices inside and you want to be able to take it off your bike. We found out that the easiest way to find out about connectors is to search in forums and on websites about miniature cars, helicopters and planes, as those use small connectors to connect the battery pack. The most common ones are Tamiya, AMP and JST. On a bike, the requirements are that the connectors don’t open and don’t break under heavy vibrations, and that + and — cannot be confused. Additionally, they should not be too expensive (some connectors cost as much as 100 € per pair!). Tamiya plugs have hooks on them, which can break off when they are not connected to something, and JST have cables so thin that they break by themselves after a while (I used them on one Biketour and the cables all broke), so the only suitable ones are AMP. The problem with AMP is that they are rather hard to find, and they could be cheaper (they are about 2 € a pair). Among the lots of other connectors that exist, I chose to use XT30 from now on. They are not patented and thus really cheap (about 0.80 € a pair), there are plenty of online shops where to find them, they are really compact, don’t have any parts that can break off, and can handle a really high current (30 A). The only disadvantage is that with some force you can accidentally connect them the wrong way round, so you have to be a bit careful when using them.
This is our shopping list for our workshop preparation session where we will build different devices:

In the end, I would expect that the parts for one device will cost about 2 €, plus 5 € for a bottle dynamo if needed.